As I sit here looking at my modern digital cameras I’m reminded of my first camera and, in particular, the first photograph that I ever took. Nowadays we take cameras and camera technology pretty much for granted but when I was a child I can’t remember many photographs. The only time our camera saw the light of day, and it had to be the light of day, as there wasn’t a flash, was on a few family occasions, the usual thing, school sports days, birthdays, etc.. My interest in photography didn’t start until my grandfather “loaned” me his camera to take with me on a week-long school trip, sleeping under canvas, in Snowdonia, North Wales. It was a somewhat battered old twin-lens reflex camera in which one looked downwards in to the viewfinder when taking a photograph.
I remember being very excited at being entrusted with the family camera, film wasn’t cheap and I had very little to no idea how to use it. The experience must have made some kind of impression on me as, after all these years, I still remember taking my first photograph. The coach stopped en-route at Blenheim Palace, the ancestral home of Sir Winston Churchill and it became the subject of my first photograph. Although, sadly, like my other photographs from the trip, it has long since disappeared, however, I really don’t need the photograph to remind me as the experience is indelibly etched on my mind. I wonder if this is perhaps where my interest in landscape photography stems from but that’s probably too much of an assumption. As far as I remember I was the only kid on the trip to have a camera, that’s how different things were, nowadays, just about everyone has a camera of some sort built in to their mobile phones. It also taught me to be disciplined to the point of being frugal when taking photographs as the trip was for one week and I only had a 12 exposure black and white film in the camera.
Some years later I really got the photography bug and bought my first camera, an Olympus OM-1 35 mm film camera and I went on to own their OM-2 and OM-4ti cameras and a range of lenses. Film was still pretty expensive considering I earned about £20 a week in my first job so I got in to developing and printing my own black and white and, later, colour films to help keep the costs down and make things more affordable. Not only did this experience teach me an awful lot about image-making start to finish, many of the techniques and skills that I learned in my makeshift darkroom, a small room adorned with genuine World War 2 blackout curtains fitted to keep out the light, another hand-me-down from my grandfather, these skills would re-surface and be invaluable some years later when I started working on processing my digital images.
I put myself through University as a mature student and I badly needed the money so I had to very reluctantly part with all my photographic equipment, but needs must. After I graduated I bought my first digital camera, a small fixed lens Kodak compact camera, reduced in a sale. It had, by today’s standards, a laughably small maximum image resolution of 640×480 pixels or, to put it another way, a stunning 0.4 Megapixels!. For all of this and further equipped with screw on wide angle and telephoto lens attachments, it proved to be a fabulous little camera which I took all over the place with me. Put simply, digital photography was a revelation, to me, no requirement for film, no real running costs and a lot of image capacity on a small memory card which I found absolutely liberating.
A few years before that I had discovered some free graphics editing software on the cover disk of a computer magazine and that started off my real passion for working with graphics and, ultimately, photo processing. So I then had all the tools I required to develop, pun intended and further, my interest in digital photography. Processing is where the magic starts for me, I am totally absorbed in and fascinated by the range of options that digital processing affords me. It encourages me, if, that is, I ever need encouragement, to constantly experiment with new styles, new techniques and is such an important part of my enjoyment and interest in photography.
I went on to own several DSLRs but, as I got older I began to find that they were simply too heavy and bulky. I switched over back in 2013 to Micro Four Thirds cameras and lenses. My choice of MFT system was heavily influenced by my experiences with my Olympus film cameras, maybe it was, in truth, part based on nostalgia that I decided on their OM-D system. As a landscape/travel photographer I have to carry my gear around all day and the weight and bulk saving is highly significant. I’ve been very impressed with the image quality of my Micro Four Thirds equipment, it has traveled with me extensively, never let me down and I have never had cause to question my decision to go over to that format.
So my 50-plus year photographic adventure has led me from twin-lens reflex and single-lens reflex film cameras to digital cameras, from stumbling around in a dimly-lit darkroom to working with my images on my computer. I’ve heard it said on occasions, including a comment I read some while back by a very famous photographer, that cameras being so much an every-day item now and available in mobile phones etc. devalues photography. I feel quite the opposite, I firmly believe that it empowers everyone with affordable technology to take photographs and enjoy photography and that, in my opinion, is fantastic. Although I’ve very much enjoyed my personal photographic journey I do confess to feeling a slight tinge of regret that the technology wasn’t available when I started out but one can’t put the clock back and I intend to keep on embracing all these great technological advancements, experimenting and enjoying my work.


Cameras:
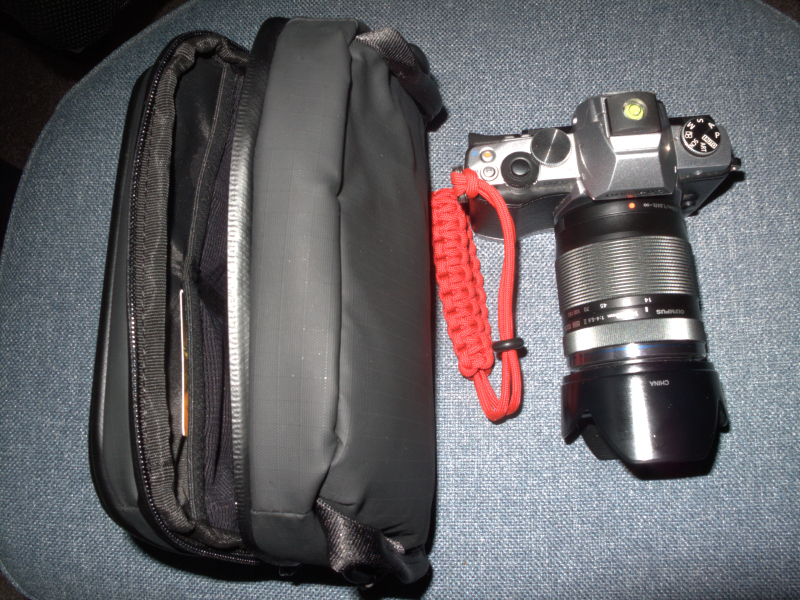
Olympus: OM-D E-M5 Mk II (titanium) & HLD-8G grip, OM-D E-M1 Mk I (black) & HDL-7 grip, OM-D EM-5 Mk I (silver) & HDL-6 grip, PEN EPL-5, PEN EP-5 (silver) +VF-4, PEN E-PL8 (Silver) +VF4, Tough TG-5 (red), PEN-F (silver), Canon Powershot G10, Nikon Coolpix A100
Lenses:
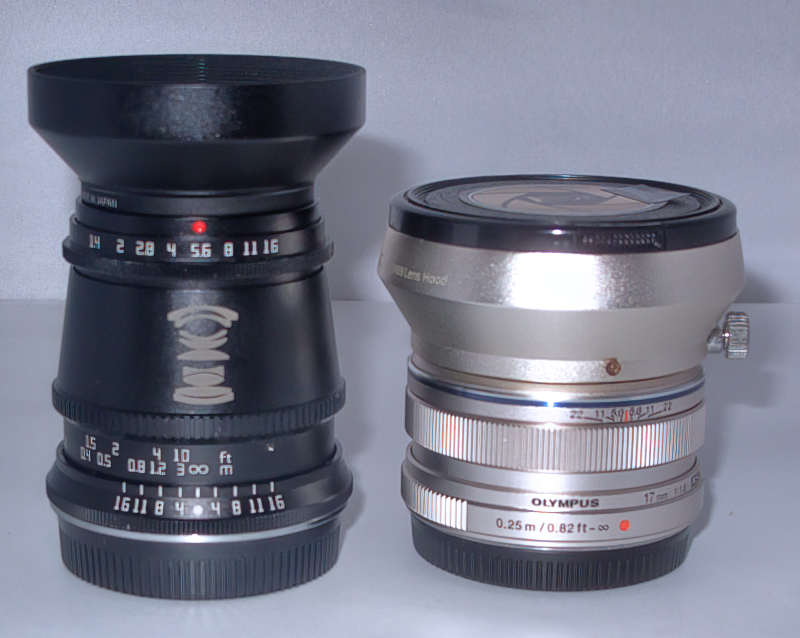
Olympus: M.Zuiko: 12 mm f/2, 17 mm f/1.8, 25 mm f/1.8, 45 mm f/1.8, 30 mm f/3.5 macro, 9 mm f/8 body cap fisheye, 15 mm f/8 body cap, 9-18 mm, 12-50 mm, 12-40 mm f/2.8 PRO, 14-150 mm II, 40-150 mm II, 12-45mm f/4 PRO, MCON-P02.
Sigma: ART 60 mm f/2.8.
Samyang: Manual focus 7.5 mm f/3.5 fisheye.
TT Artisan: Manual focus 17mm f/1.4, 23mm f/1.4, 35mm f/1.4.
Panasonic Lumix: 14 mm f/2.5, 20 mm f/1.7, 12-32 mm x2 (black and silver), 12-60 mm, 14-42 mm II, 35-100 mm, 45-150mm.

PEN E-P5, 9-18mm,12-32mm, 40-150mm II. A lightweight kit with virtually continuous coverage from 18mm wide angle to 300mm telephoto.

OM-D E-M1 I, 14-150mm II, 12-40mm PRO. . Heavier than my other kits but with complete weather-sealing. Coverage from 24mm wide angle to 300mm telephoto with some overlap for backup.
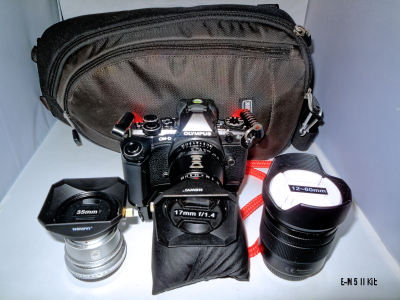
OM-D E-M5 II, 17mm, 35mm, 12-60mm. A balance of two fun manual focus lenses with a weather-sealed body and zoom lens.

PEN E-PL5, 9mm, 15mm, 25mm, 60mm, 12-50mm. Another lightweight fun kit with a zoom option.

TG-5, OM-D E-M5 mk1, 7.5mm, 12mm, 17mm, 45mm, 30mm macro. M-CON.

PEN-F, 14mm, 20mm, 12-32mm, 35-100mm. Probably my favourite lightweight day-to-day kit. Two fast primes and two zoom with almost continuous coverage from 24mm wide angle through to 200mm telephoto.
Software:
Corel: Paintshop Pro Elite 2020 & Video Studio 2019.
Skylum Software: Aurora HDR 2019, Luminar 4, Luminar AI and Luminar Neo.
DXO Labs: PhotoLab 5 Elite, Viewpoint 3, NIK Collection 6, Film Pack 5 and PureRAW 6.
Anthropics Technologies: Landscape Pro Studio 3 and Portrait Pro.
EyeQ: Perfectly Clear
ON1: Photo MAX RAW 2026
Topaz Labs: Studio 2, Sharpen AI, A.I Gigapixel, AI Clear, AI Adjust, DeNoise AI and Various legacy plugins.
Adobe: Lightroom.
GreenScreenWizard Studio Pro.
Serif: Affinity Photo
Microsoft: Image Composite Editor (Free).
Darktable (Free).
Olympus: Olympus Capture, Olympus Workspace and Olympus Webcam (Free to Olympus owners).
Sony: Movie Studio Platinum.
Datacolor: SpyderExpress display calibration device and DisplayCal software.
Lighting Gear:
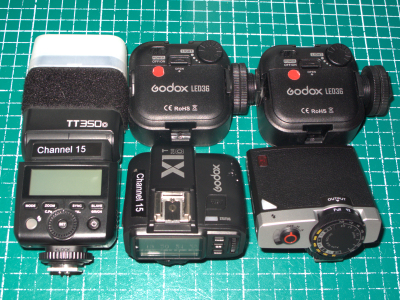
Godox TT350o flash, Godox X1T radio flash trigger, Godox Lux Junior flash, LED ring flash, GVM RGB LED light, Olympus MAL-1 Macro Arm Light. Two Godox LED36 lights, Godox Litemons LED6R light. Three Bowen studio flash heads, barndoors, honeycombes, umbrellas and flash meter.